So, Philip bought me Photoshop Elements 8.0 for Christmas and I just broke it out about a week ago. (We actually bought it on Black Friday-- a $90 program for $50!! I wanted it so bad- We price matched it at WM... they only had one copy left, so we bought it that day. I didn't even care if I knew what I had coming to me as a present, I just wanted to make sure we got that awesome deal!)
ANYWAY--- I purchased a Jessica Sprague online class so I could quickly learn some really cool things about PSE. It was intended to be a 2 week course, but I was so into it that I did it all in 2 days!!! I've learned some awesome things. I don't have them all stored in my memory yet, but I have a pretty good grasp on a lot of things. Here are some pics (before/after) that I completed in the course.
Before:
After:
Cropped, fixed red eye, and added an inked overlay from the downloaded course material (courtesy of House of 3).
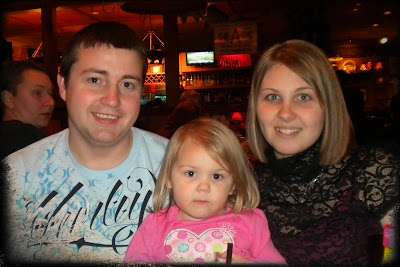
Before:
After:
On this photo, I applied a couple different textures, including one with the darker edge.
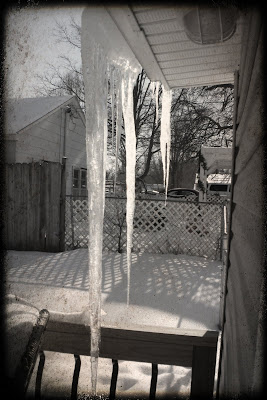
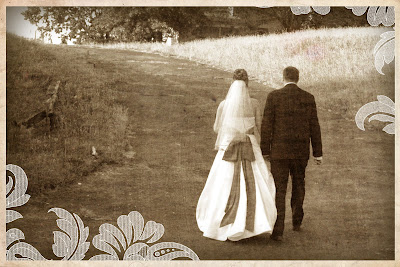
Before:
After:
This photo has a lot more going on! First, I cropped the image down to size, transformed it into a sepia tone, used THREE different textures, and added a "Paper Edge Frame" created by J. Sprague, which was part of the downloaded course material.
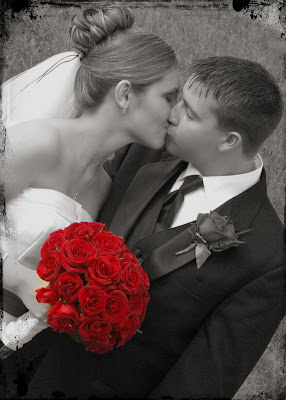
Before:
After:
This is a photo I have done before, but lost it when my computer crashed! :-( Luckily I still have all of the raw images, but all of the edits are gone. Anyway, I cropped this photo and changed the orientation to vertical, converted the color to B&W, spot colored the bouquet, and added the inked edge frame.
Before:
After:
Cropped, added some texture, and then added the text, which I then placed behind the texture. Love this look-- it looks like a piece of old paper that's been folded up! (Might I add- this picture was taken when I was 20 lbs. heavier! It makes me sick to look at this picture, but it was a stage in my life and I just have to embrace it, and appreciate the changes that my body has gone through now!!)
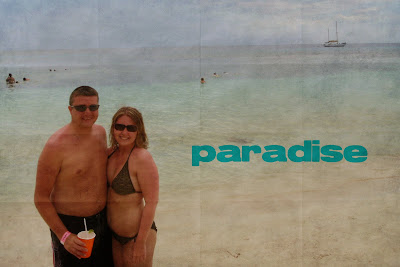
Before:
After:
Okay, so this picture has LOTS LOTS LOTS going on!! First, I created a mask using the rounded rectangle tool. Applied a couple textures, one of those being a similar "folded paper" look as the last photo, but not as many folds in it... created an edge burn, and added the "Life is..." overlay, which was set to the "multiply" blending mode. Finally, I hid the overlay behind the mask. Whew! I don't really like the "Life is..." overlay on this photo, but it was part of the lesson... :-) The photo itself, though... I LOVE it! I think it looks like a postcard!
So, that's what I've been learning the last couple of days! There were a few more lessons- one was creating a 3-pic storyboard with text, and the next was a 9-pic document using a flourish brush, and last was another 9-pic doc utilizing several different techniques. I watched the vids, but didn't create anything for them yet.
I would love to know what you think! Leave me a comment!
17.1.10
13.12.08
"Sleep"
August 23, 2007 - This was our last night staying in the hospital after Kennedy was born. She slept in bed with me - it was so nice to hold her close all night!
"Sleep"
I used:
Cricut's Base Camp for "Sleep,"
Cricut's George and Basic Shapes and
Design Studio to make off-centered circle,
Cricut's Mini Monograms and Design Studio
to create scalloped rectangle,
Cricut's Street Sign for the arrow,
and my Cuttlebug and a Quickcutz die for photo corners.
I used:
Cricut's Base Camp for "Sleep,"
Cricut's George and Basic Shapes and
Design Studio to make off-centered circle,
Cricut's Mini Monograms and Design Studio
to create scalloped rectangle,
Cricut's Street Sign for the arrow,
and my Cuttlebug and a Quickcutz die for photo corners.
Inspiration:
(Created by ____ on Cricut MB)
Dishwasher Baby
These pictures were taken on September 13, 2008 - I was putting away dishes and turned back around to find that Kennedy had climbed onto the dishwasher door!
"Dishwasher Baby"
I used:
Cricut's George and Basic Shapes and Design Studio
to create all squares, circles, and rectangles.
"Dishwasher Baby"
I used:
Cricut's George and Basic Shapes and Design Studio
to create all squares, circles, and rectangles.
Inspiration:
(From one of my scrapbooking magazines)
Rise and Shine
These photos were taken during the morning of August 22, 2007, the day after Kennedy was born, in the hospital. Daddy took his turn taking care of her when she woke up.
"Rise and Shine"
I used:
Cricut's New Arrival for the baby rattle,
Cricut's Hello Kitty Font for the letter "K,"
and Stickles in purple.
I used:
Cricut's New Arrival for the baby rattle,
Cricut's Hello Kitty Font for the letter "K,"
and Stickles in purple.
The Inspiration:
(Created by Jennifer Bockelman, Cricut MB)
Sleepy Baby
These pictures were taken on August 25, 2007 and August 28, 2007, when Kennedy was just a few days old. It's hard to imagine now that there was actually a time when she wanted to sleep! Now we have to try and try to get her asleep!
"Sleepy Baby"
I used:
Cricut's All Mixed Up for the flower,
Cricut's Storybook for "SLEEPY,"
Cricut's Opposite's Attract for "baby,"
and Cat's Eye Colorbox Chalk Inks in
Pink Pastel, Yellow Citrus, and Olive Pastel.
Cricut's All Mixed Up for the flower,
Cricut's Storybook for "SLEEPY,"
Cricut's Opposite's Attract for "baby,"
and Cat's Eye Colorbox Chalk Inks in
Pink Pastel, Yellow Citrus, and Olive Pastel.
The inspiration:
(Cannot remember the original creator)
5.12.08
Better Not Pout
We went to the mall yesterday to have family pictures done at Flash! Portraits. They turned out really good, although Kennedy wouldn't smile for ANYTHING in our family ones! (View them at www.flashportraits.com - Last Name/Password is Hoyle)
After we were done, we had Kennedy's picture taken with Santa. She was a bit scared, but didn't cry! I'm so proud of myself for scrapping this page the DAY the picture was taken! I'm about a year behind on the other stuff! Yikes!
"Better Not Pout"
I used Cricut's DonJuan for "Better Not Pout" and
Cricut's Design Studio to weld the letters,
Cricut's Mini Monograms for scalloped square,
Cricut's George and Basic Shapes and Design Studio to create ornament,
Martha Stewart Branch Punch,
Date stamp by Catslife Press,
and Stickles in Xmas Red.
I used Cricut's DonJuan for "Better Not Pout" and
Cricut's Design Studio to weld the letters,
Cricut's Mini Monograms for scalloped square,
Cricut's George and Basic Shapes and Design Studio to create ornament,
Martha Stewart Branch Punch,
Date stamp by Catslife Press,
and Stickles in Xmas Red.
9.11.08
"Noah's Book of Firsts"
Here is the scrapbook I made for Phil's cousin, for her baby Noah. If you have any questions about Cricut cartridges used, products, or anything at all, feel free to leave a comment, or email me!
21.7.08
"Scooter Fun"
I had the house to myself for the night- Philip went to bed shortly after 9 to be at work at 5:30am, and Kennedy stayed the night with her Grandma and Grandad. So, Mom neglected housework and spent a little "me" time on this layout of our honeymoon. (Housework can wait until tomorrow night- I've got more important things to do!)
This LO was scraplifted, but I can't remember who did it. I think I might have found it on Hobby Lobby's idea page...?
6.7.08
18.4.08
17.4.08
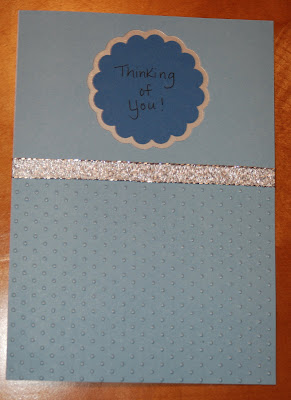
"Thinking of You" Card
I made this simple, easy card to send to my brother. Again, very simple! Read: 5 minutes!
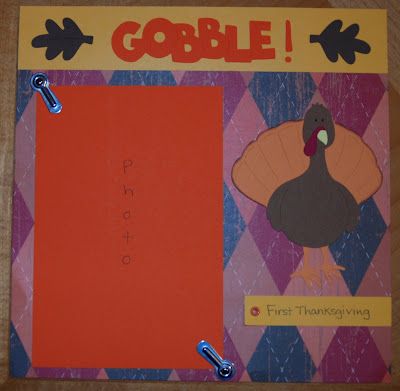
Baby's Book of Firsts
My husband's cousin is 14 weeks pregnant with her first child, and I am making her a Baby's Book of Firsts scrapbook! Since she doesn't know the sex yet, I have only started on the gender-neutral pages.
I used Cricut's Making the Grade for the title,
Cricut's New Arrival for the duck,
Cuttlebug's Spots and Dots embossing folder for the big "S."
"1st Halloween"
I used Cricut's Stamped (I believe it was!) for the #1.
"Gobble!"
I used Cricut's Animal Kingdom for "Gobble" and the turkey,
Cricut's Stamped for the exclamation mark,
Cricut's Doodlecharms for the leaves.
"Baby's 1st Christmas"
I used Cricut's Doodletype for "Baby's 1st Christmas,"
Cricut's Paper Doll Dress Up for Santa,
Cricut's Accent Essentials for some of the snowflakes,
Cricut's Christmas Cheer for the trees, sleigh, mistletoe, gifts, Rudolph, some snowflakes,
Cricut's George and Basic Shapes for the tree stumps (they are just rectangles).
Close-Up
I'm very please with how this turned out! I inked the bottom of the sleigh to make it look "dirty" from being on rooftops, used a jewel brad for the berries on the mistletoe, used an eyelet on the sleigh to attach the reigns, created a glitter glue collar for Rudolph, and gave Rudolph his red nose with a rhinestone embellishment. Lots of little details!
Subscribe to:
Posts (Atom)